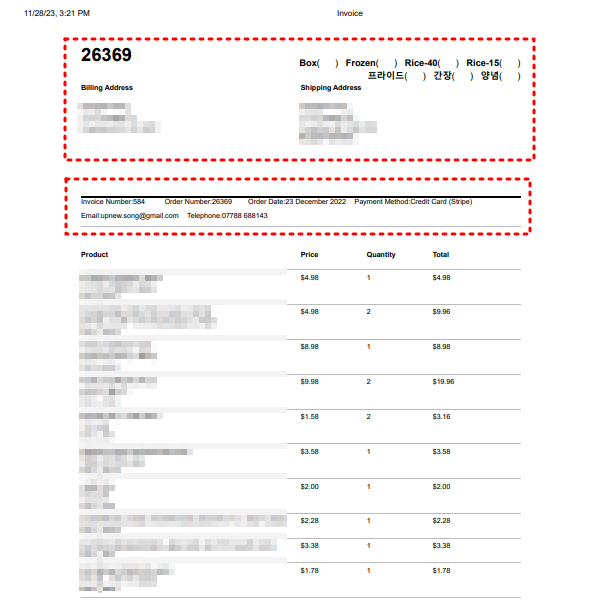

To customize the invoice in WooCommerce, you can use the WooCommerce PDF Invoice Builder plugin. This plugin allows you to add your company name, change the color or font size of the elements, add more than 500 icons, and add your logo or any image to your pdf.
To install and activate the plugin, follow these steps:
- Go to the Plugins section of your WordPress dashboard.
- Click on Add New.
- Search for WooCommerce PDF Invoice Builder.
- Click on Install Now.
- Click on Activate.
Once you have installed and activated the plugin, you can customize the invoice template by following these steps:
- Go to Invoice/Packing and click on Invoice.
- Click on the Dynamic Customizer tab.
- Use the Preview Pane to see how the document will appear.
- Customize the invoice template by changing the color or font size of the elements, adding more than 500 icons, and adding your logo or any image to your pdf.
- Click on the Store Updates button to save your changes.
If you want to customize the template for your invoices, packing lists, and pick lists without using a plugin, you can do so by going to WooCommerce > Settings > Invoices/Packing Lists > General and clicking on Customize. This will open the visual editor that you can use to customize the documents template and see your changes displayed live in a template preview.